Roblox Starving Artists: How to Make and Sell Art
Find out how to make and sell art in Roblox Starving Artists with the help of our step-by-step guide.
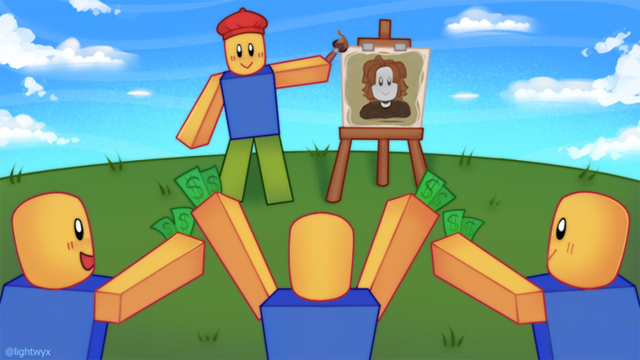
Roblox players can now create and sell their original art for Robux in the new art simulator Starving Artists. Everyone can draw whatever they want in a simple painting program and put a price tag on it. And if anybody likes it they can buy it up.
This guide will explain how to make and sell art in Roblox Starving Artists. The game doesn’t clearly tell players how to assign a price on their work, so read our guide below and learn the process from start to finish.
How to Make Art in Roblox Starving Artists
Claim Your Booth
Before you can actually sell your art you need to make one. So follow these steps to begin the process of creating art:
- Start Roblox Starving Artists
- Find any booth at the starting area that says “UNCLAIMED“
- Interact with the booth by pressing “E” key
- Open the “Booth Customization” menu
- Give your booth a name and press “DONE“
Make Your Art
After connecting your booth to your Roblox ID, you can start creating art by doing the following:
- Click on any empty painting in your booth
- Create your art using in-game tools
- Press “Next” once finished
- Give your art a title
- Press “Finish” to confirm
Now you have created an art in Roblox Starving Artists, which you can set up for selling.
How to Sell Art in Roblox Starving Artists
The process of selling art is trickier than making it. After creating an art piece, players need to attach their art to a shirt and give it a price.
Upload a Template
Here’s what you need to do to be able to sell art:
- Leave Roblox Starving Artists
- Go to Roblox website
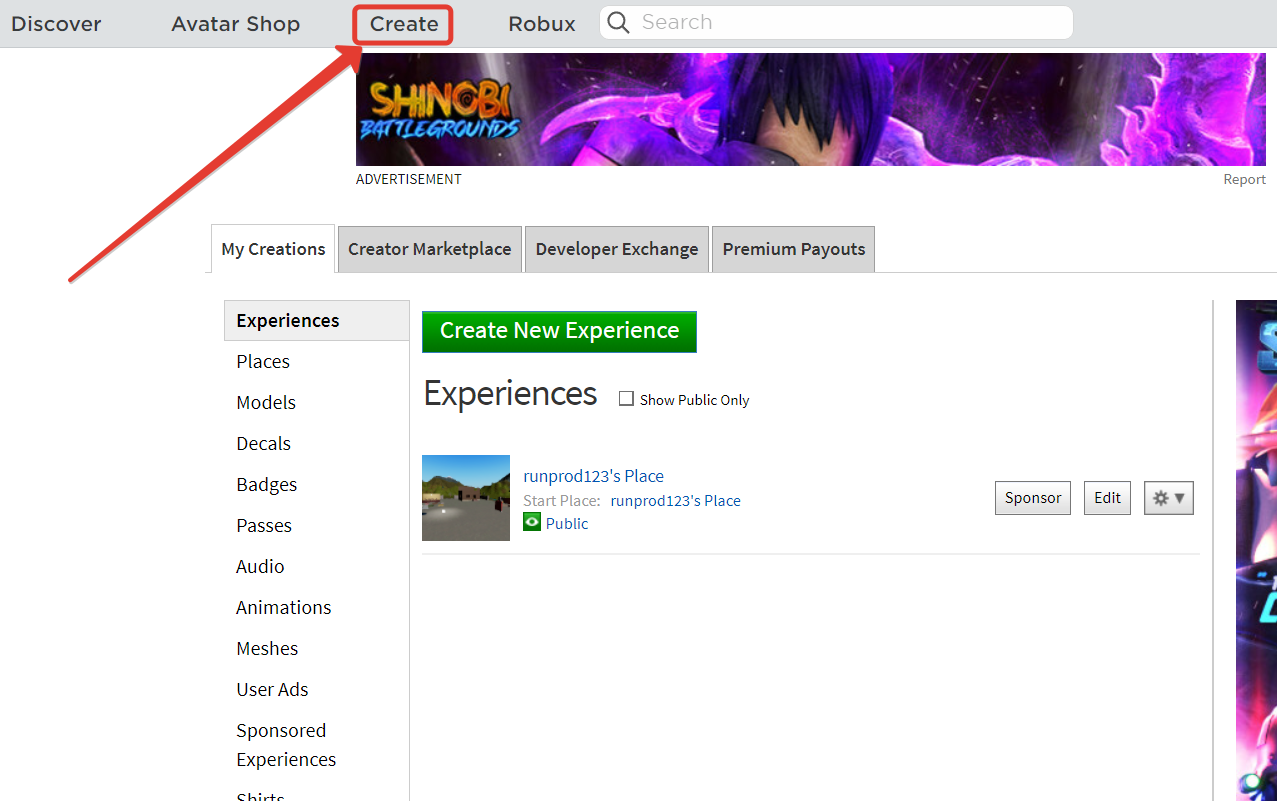
- Select “Create” in the top menu
- Select “Manage My Experiences” feature
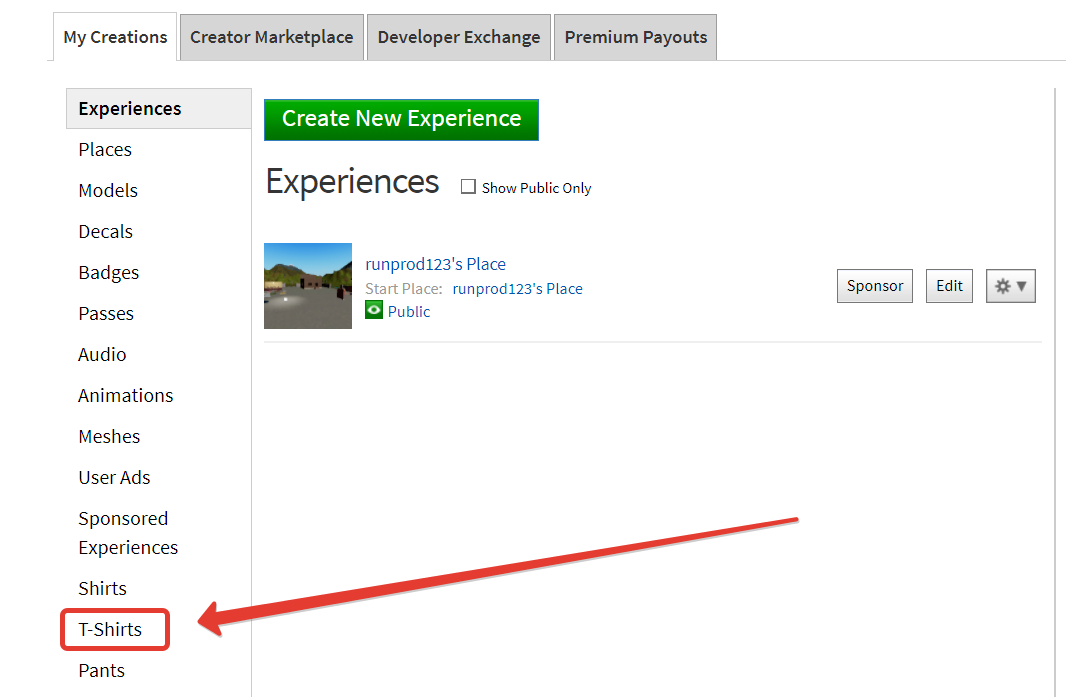
- Go to “Shirts” tab
- Download the template and save it on your device
- Upload the downloaded template for 10 Robux
Configure Your Price
Once the template has been named and uploaded, you need to configure its price by doing the following:
- Click on the wheel button next to your shirt
- Select “Configure” option
- Go to “Sales” tab
- Check “Item for Sale” field
- Type in the price you want to sell your art for in Robux
- Press “Save” to confirm
Sell Your Art
Finally, you can start selling your art in Starving Artists:
- Start Roblox Starving Artists
- Go to your booth
- Click on the empty painting
- Select the art you wish to sell from the list
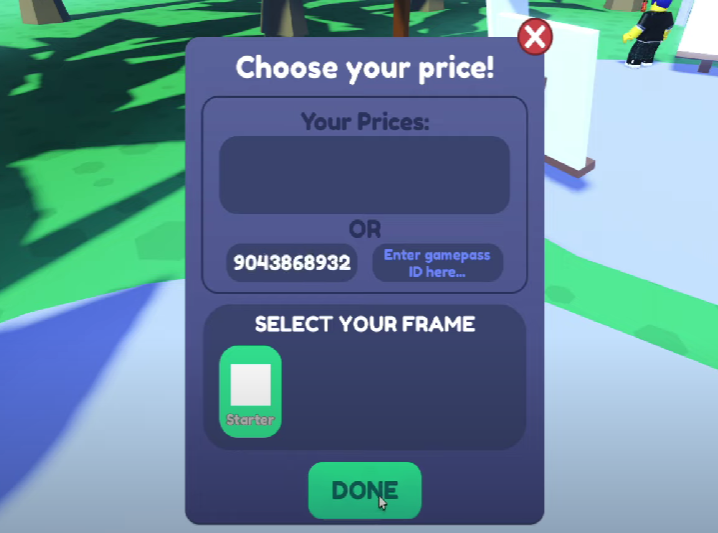
- Select your shirt from the “Choose Your Price!” menu
- Press “DONE” to confirm
Now your art will be a part of the exposition at your booth with a price tag on it. If anyone wishes to buy your art, they can do it right from your booth, and all the earnings will go to your account.
Related articles
Now you know how to make and sell art in Roblox Starving Artists. For more guides and other Roblox-related articles, check out our dedicated hub page.
About the author
Serhii Patskan
Sergey has been a freelancer in the video games industry for more than five years, writing for various publications around the world. His favorite games are MtG, Dark Souls, Diablo, and Divinity: Original Sin.
Способы заработка в Roblox
Roblox – это уникальная площадка, которая позволяет не только играть в уже созданные тайтлы, но и разрабатывать собственные игры. У всех игроков возникал вопрос: «Как заработать на валюте в роблоксе». Данная статья посвящена этому вопросу.
Как в Роблоксе можно зарабатывать?
Роблокс это уникальная платформа, где можно зарабатывать на чем угодно, главное иметь клиентов. Например, вы можете прокачивать аккаунты в определенных играх, которые пользуются спросом. Кроме того есть и другие актуальные способы заработка (быстро и не очень):
Как заработать Роблоксы в игре – режимы и карты
В нынешних реалиях существуют тайтлы, где можно заработать на своем творчестве. То есть вам не нужно играть или искать заказчиков, просто занимайтесь любимым делом.
Голодающие художники. Данная игра позволяет художникам творить и выставлять свои картины на продажу. Для того, чтобы ваши работы выделялись на фоне других, нужно действительно обладать навыками рисования и добавить немного креатива. Система продажи очень легкая, пишите картину, добавляете функцию продажи и выставляете свой продукт.
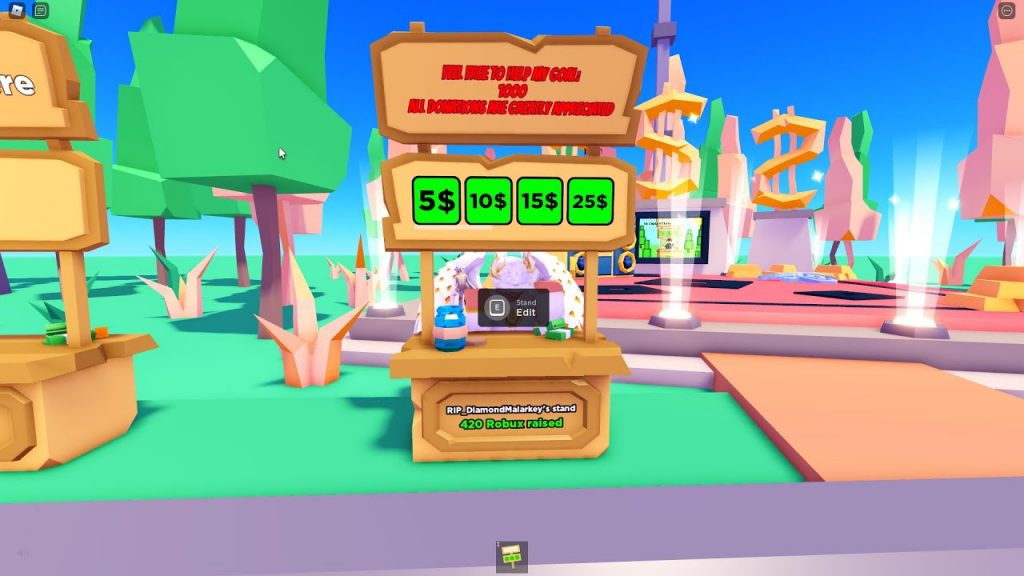
PLS DONATE продавай вещи. Игра очень похожа на предыдущую, здесь игроки зарабатывают на продаже вещей. Все хотят обладать уникальным и красивым скином, если создать интересную вещь, ее обязательно купят. Для этого нужно создать предмет, установить цену, настроить товары и сделать рекламную вывеску.
Подобных игр много, главное проверить их функционал и начать работу.
Валюта в Роблоксе – заработок другими способами
Итак, перейдем к основным методам заработка. Если приложить достаточно усилий, ваша деятельность начнет приносить деньги, а значит вы будете обеспечивать себя, играя в любимый роблокс. Что может быть лучше? Ещё учитывайте, что всё бесплатно. Ни за что не надо платить.
Буст услуги
Быстрая прокачка аккаунтов – востребованная услуга. Если вы опытный игрок и готовы прокачивать чужие аккаунты, нужно выкладывать объявления на тематических форумах и онлайн-сервисах. Заранее установите цену и укажите контакты. После этого игроки смогут с вами связаться и обсудить дальнейшее сотрудничество.
Блогерство
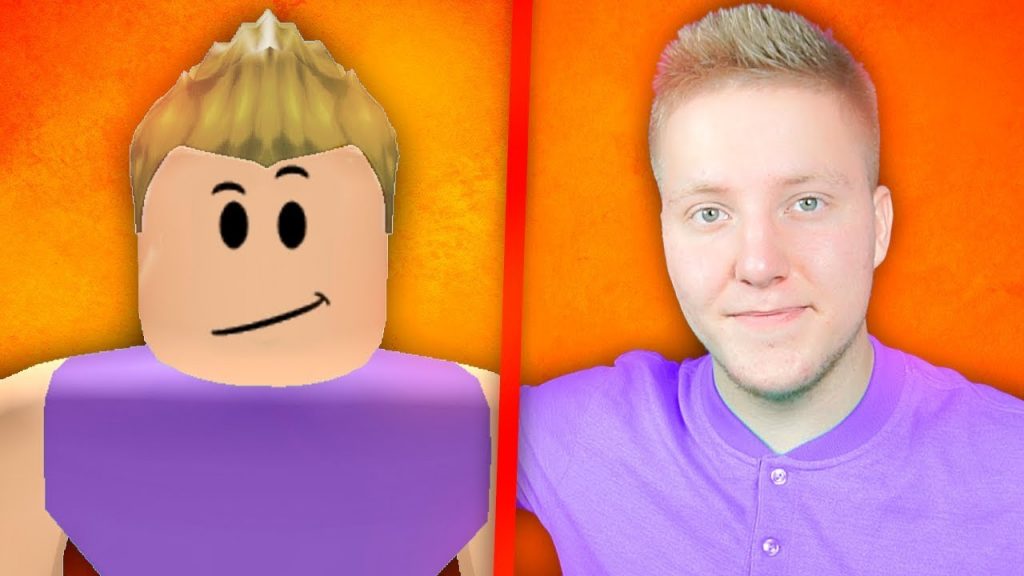
Самый популярный русскоязычный блогер в данной сфере – Поззи. На данный момент у него 11 миллионов подписчиков и огромное количество просмотров. По данным сайта socialblade.com примерный заработок Поззи 12.5 миллионов рублей в месяц, однако, сейчас не монетизируют русский контент. Поэтому заработок может идти только с рекламных контрактов. Чтобы стать блогером нужно снимать тематический контент. Если говорить о роблоксе, тогда записывайте динамичные игры, которые будет нескучно смотреть.
Своя игра
Очень интересный способ заработка, однако, очень сложный. Во-первых, чтобы зарабатывать на своей игре она должна быть веселой, оригинальной, многофункциональной. Также должен быть постоянно большой онлайн, чтобы игроки чаще донатили.
Не смотря на все трудности, есть люди, которым удалось на этом заработать. Например, Анна Шомейкер – заработала 500 тыс. долларов за год пандемии на своей игре. Алекс Хикс – заработал 1 млн. долларов на своей игре в роблокс.
Для того создать свою игру, придется выучить языки программирования и постоянно практиковаться.

Партнерская программа
Существуют сайты, которые предлагают выполнять простые задания за робуксы, тем самым вы сможете заработать себе на донат. Но это не так интересно. На подобных «Буксах» существуют реферальные ссылки, если любой человек зарегистрируется по вашей ссылке, он становится рефералом. После этого часть его заработка будет перечисляться вам на счет. Именно так работает реферальная программа. Приглашаете людей, получаете за их количество или их работу процент.
Данный способ полностью рабочий и бесплатный, то есть не требует вложений, для начала можно набрать первых рефералов из своих друзей.
Продажа вещей
Продавать редкие и уникальные предметы можно вместе с аккаунтом на специальных интернет-площадках. Для примера, создаете аккаунт и играете усердно в один тайтл, после прокачки персонажа и поиска редких предметов можно выставлять свой аккаунт на продажу. Ценители редких предметов всегда находятся, поэтому за хороший акк могут предложить солидную сумму money или монет.
Роблокс голодающие художники
Игра Голодающие художники чем то похожа на режим PLS DONATE где обычные игроки могли зарабатывать реальные робуксы продавая свои вещи в специальном ларьке. В режиме «Голодающие художники» так же можно заработать робуксы, но не с продажи вещей, а с продажи картин. Вы сможете нарисовать картину, выставить ее на продажу и если Вам повезет у Вас ее купят. Цену на свое творение можно установить любую, все зависит от вашей жадности и спроса на ваши творения.
Идеи и примеры не сложных картин
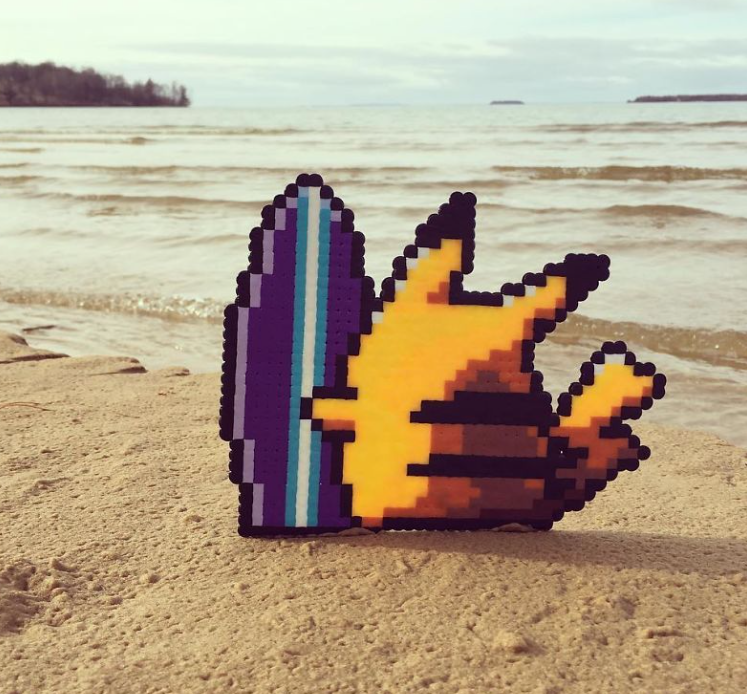
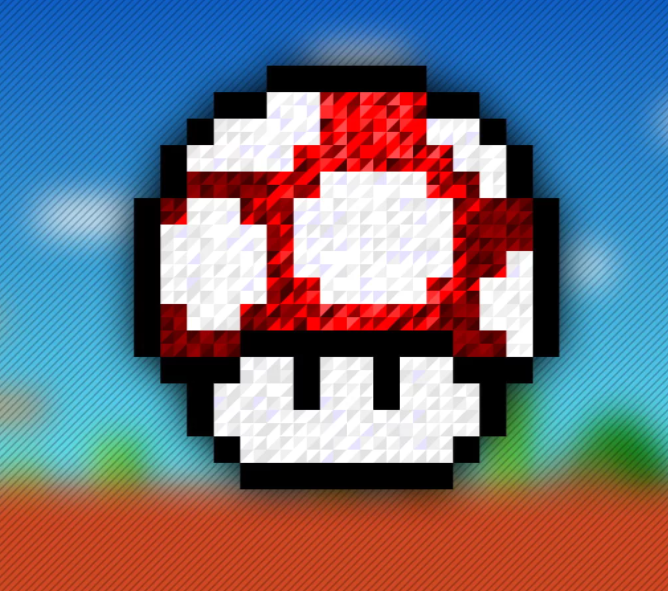
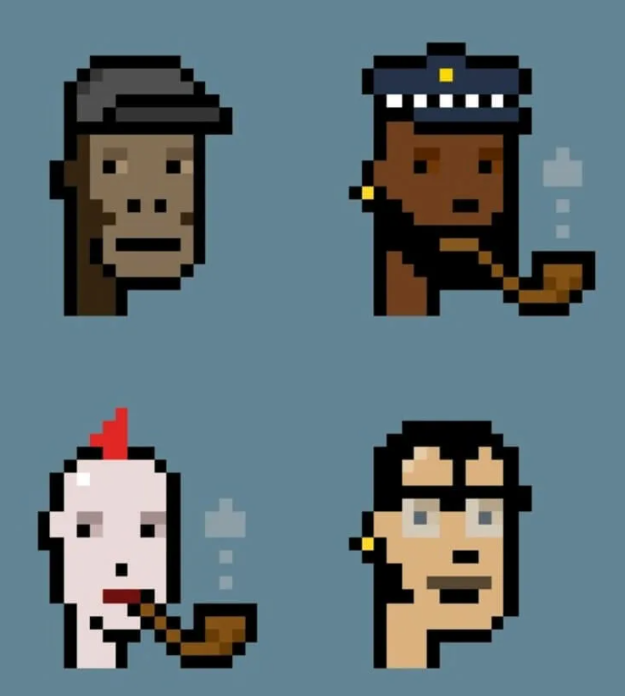
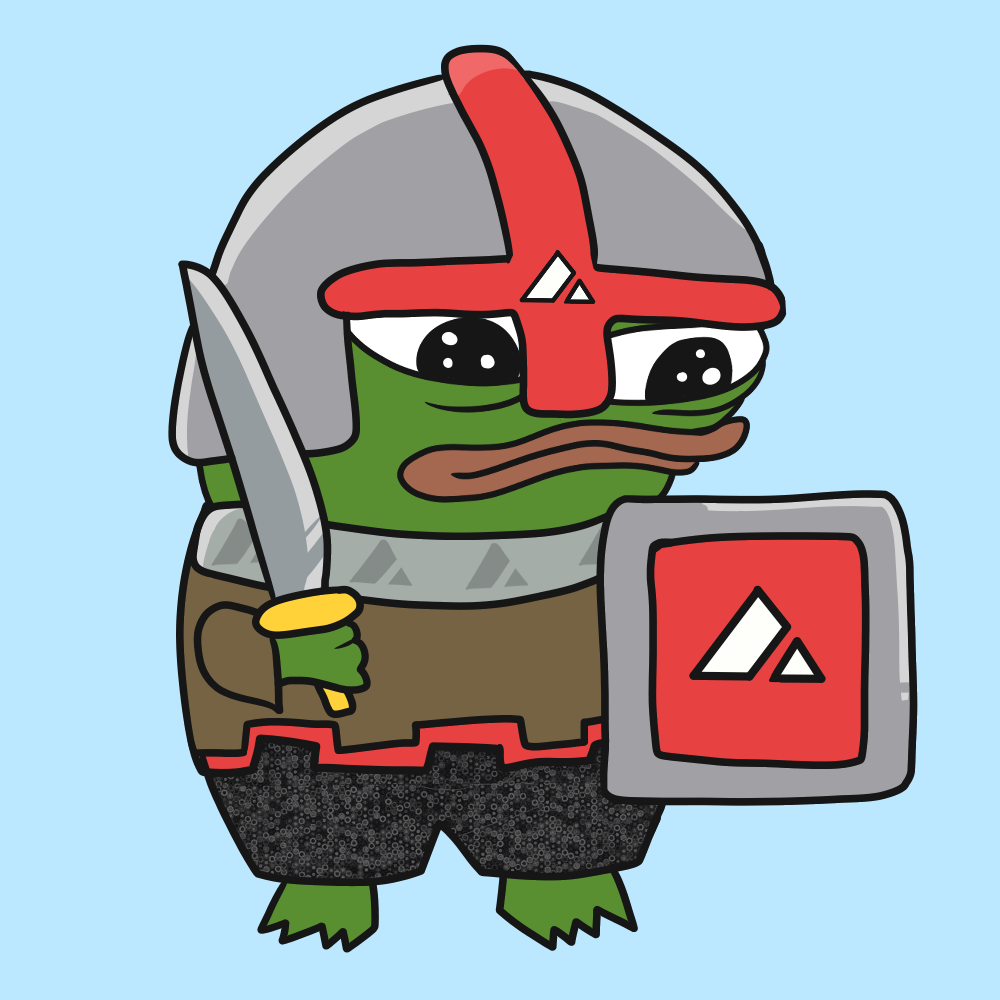
Рисовать можно все что угодно, от реплики популярных NFT до ваших любимых персонажей или любых каракуль в стиле дудлинг.



Как нарисовать картину и выставить ее на продажу
1. Находим свободный стол и садимся за него (нажав кнопку E)
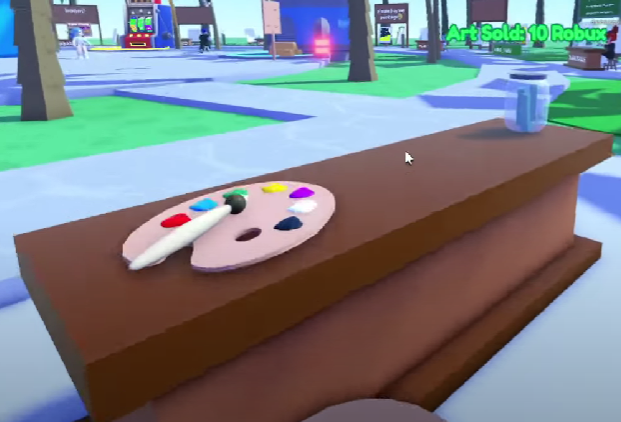
2. Перед Вами откроется интерфейс в котором вы можете что то нарисовать. Воспользуйтесь инструментами которые предложены в нижней части холста.

3. После того как вы написали картину нажмите на кнопку «NEXT»
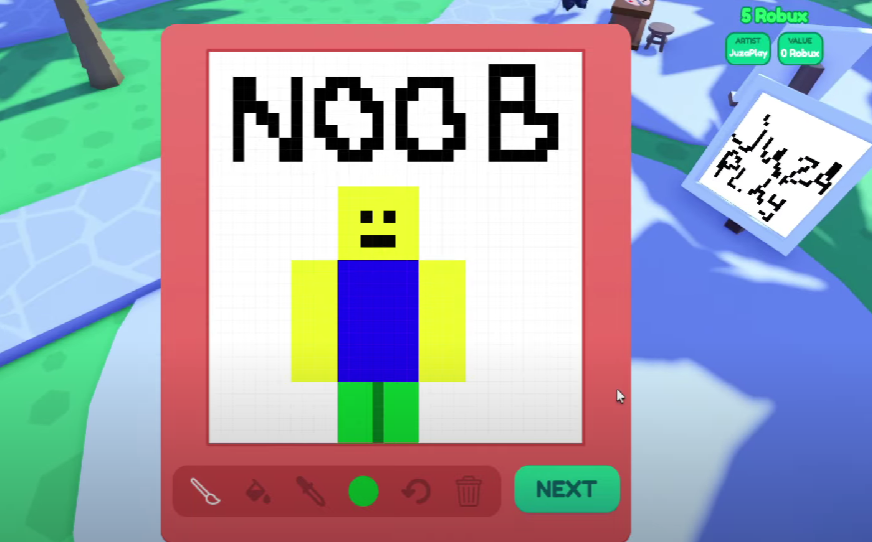
4. В верхней части пропишите название картины и нажмите кнопку FINISH. Готово, вы нарисовали свою первую картину, теперь нужно выставить ее на продажу.

5. Что бы выставить картину на продажу подойдите к пустому холсту, нажмите и удерживайте кнопку E.
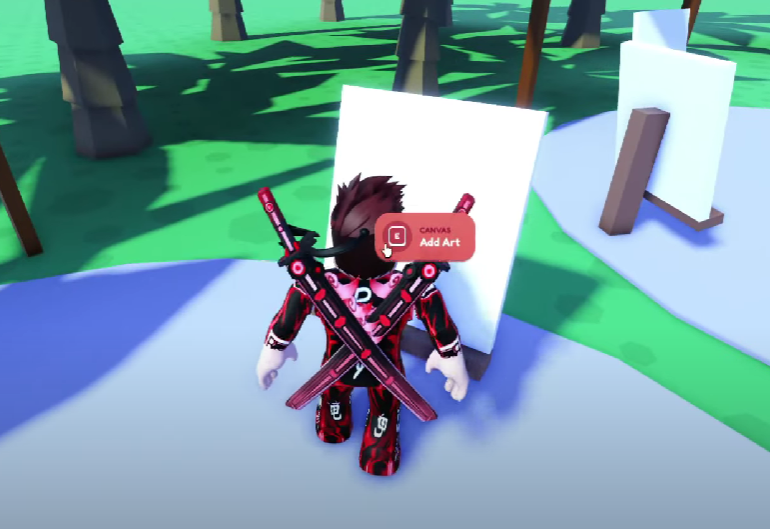
6. Выберите нарисованную картину просто нажав на нее.
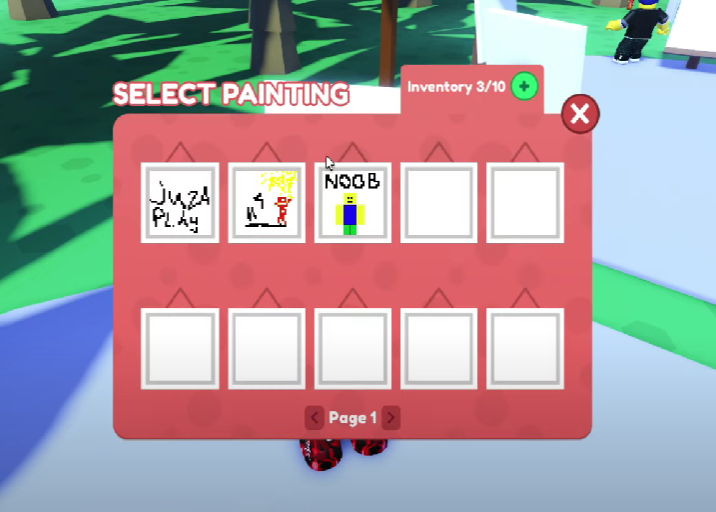
7. Пропишите ID предмета который будет продаваться вместе с картиной (как получить id можно узнать тут, или почитать в инструкции чуть ниже)
Как получить идентификатор рубашки для Roblox «Голодающие художники»
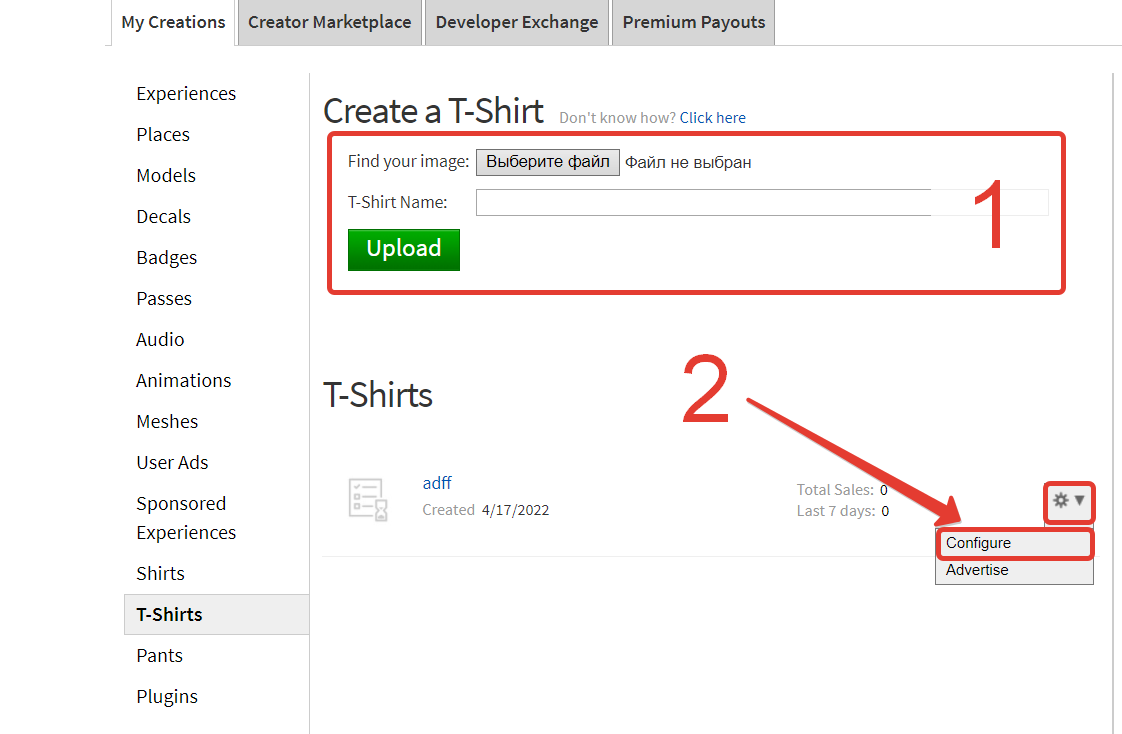
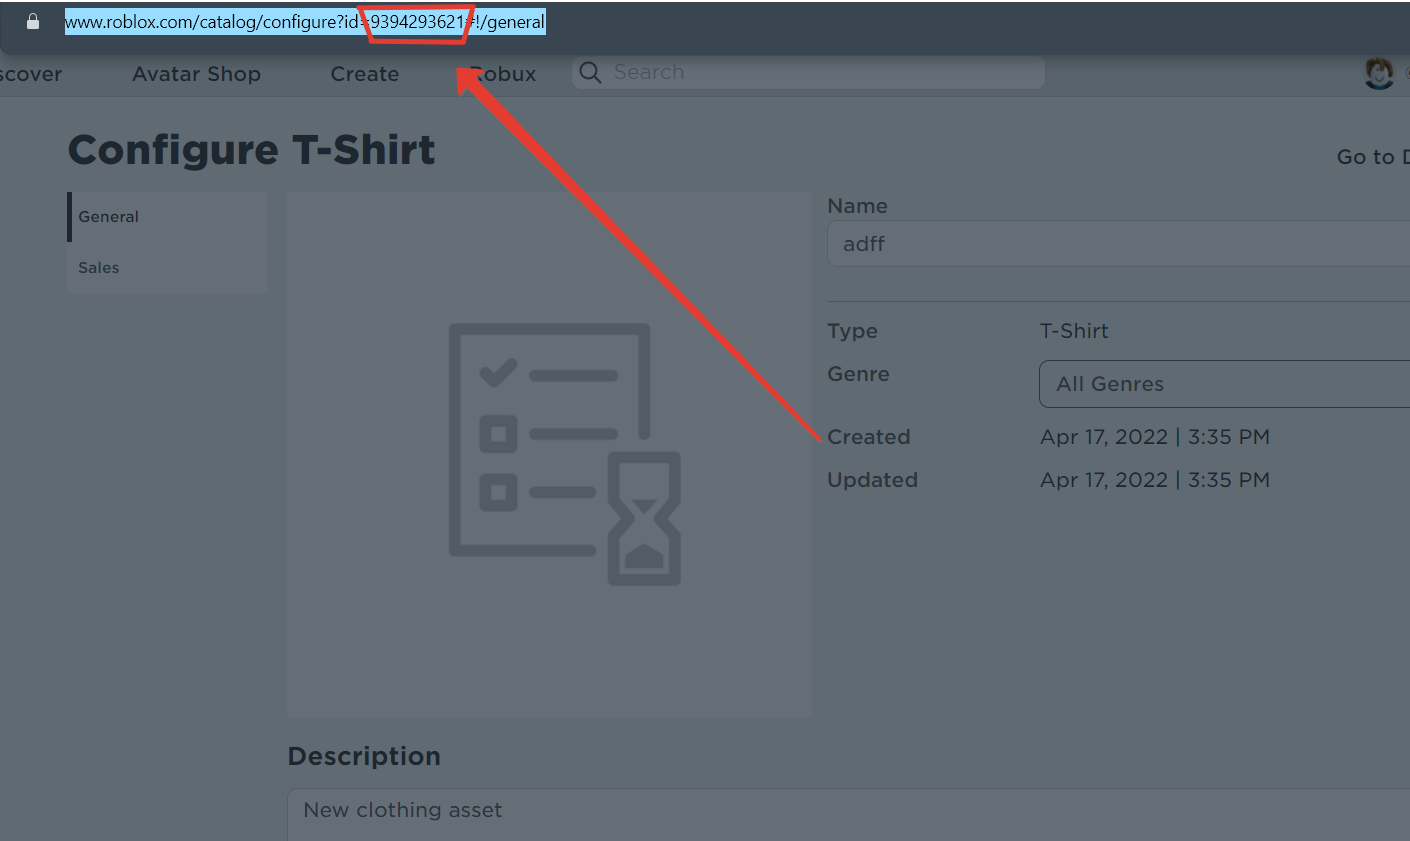
Для того что бы назначить цену рубашки необходимо зайти во вкладку Sales, активировать ползунок продажи, назначить цену и нажать кнопку Save.
Publishing to Marketplace
If you are a creator participating in the UGC program and your item meets the marketplace policy , you can upload the asset and enable your item for sale on the Marketplace for a fee. Before uploading the item, you must review the Marketplace restrictions and understand the moderation process to prevent unexpected issues during and after the upload process.
See Marketplace Fees and Commissions for more information on the fees and commissions for Marketplace items.
This article covers 3D accessories and clothing assets. See Classic Clothing for information on uploading and selling classic 2D clothing.
Moderation
When uploading an asset to the Marketplace, the Moderation team reviews the item before you can sell the item. This process can take up to 24 hours. After approval, Roblox sets your item as "Ready To Sell" in the Creator Dashboard or within Studio.
To ensure that your asset has the best chance of successfully clearing moderation, make sure your asset adheres to the Marketplace Policy and that the metadata, such as the title and description, follow general best practices .
Moderations can happen after the item passes initial moderation. If Roblox removes an item with sales, Roblox refunds anyone who purchased the item and cancels any pending payments for that item.
If you believe your asset has been incorrectly moderated, you can file an appeal with our moderation staff.
If you believe an asset is infringing on your IP, or that one of your assets has been incorrectly removed due to IP, submit a DMCA request .
Marketplace Thumbnails
Roblox uses image thumbnails to represent the 3D asset in the Marketplace , user inventories, and avatar editors. Before uploading an asset to the Marketplace , you can create your own thumbnails to customize the exact look and feel of your asset previews. Since you can't edit or update a thumbnail after you publish an asset, make sure that the thumbnail accurately portrays your item before uploading the asset.
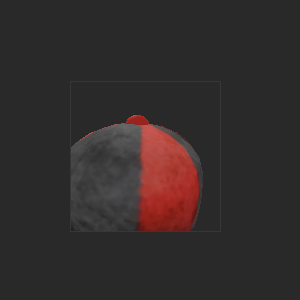
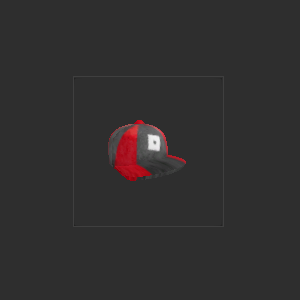
Creating Thumbnails
You must create thumbnails before publishing your asset on the Marketplace . You can quickly create these thumbnail configuration instances with the Custom Thumbnail Tool . Roblox stores custom thumbnail information in a child ThumbnailConfiguration object that parents a CameraTarget and CameraValue .
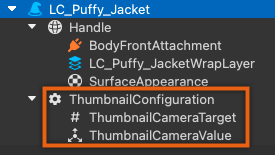
To use the Custom Thumbnail Tool:
Install the Custom Thumbnail Tool plugin . This may require restarting Studio.
In the Explorer window, select the Accessory you intend to create a thumbnail for.
With the Accessory highlighted in the Explorer window, navigate to the Plugins tab and click the UGC Thumbnail Tool . The viewport display updates and centers on the selected accessory in the workspace.

Adjust the viewport to center on your accessory. Use the following controls to help navigate the camera:
When complete, click Accept to generate the thumbnail configuration objects.
You can preview the thumbnail by right-clicking the accessory in the Explorer window and selecting Save To Roblox… . The Asset Configuration dialog displays and displays the current thumbnail.

If your thumbnail does not look correct, repeat steps 2-5 to overwrite the existing thumbnail data.
Once you upload an asset, you can't modify or change an asset's thumbnail.
Troubleshooting Thumbnails
If your thumbnails don't look the way you expect, you might need to manually resolve these issues or attempt to use the Custom Thumbnail tool again. See the following for common issues and fixes:
| Issue | Description |
|---|---|
| Incorrect Thumbnail Zoom | The scale of the thumbnail depends on the Handle size of the Accessory . For the best thumbnail, make sure your Handle covers the entire item. |
When changing the size of the Handle object, adjust the Size property instead of using the resize tool. The resize tool can cause other unintended changes to the item.
Uploading an Asset
When uploading your asset, Studio checks your asset for technical issues, such as an incorrect hierarchy or accessory structure. You can also add a custom thumbnail to your asset before uploading to customize how the item displays on the Marketplace.
For details on converting a custom model to a rigid or layered accessory, see Accessory Fitting Tool .
You can't update or edit assets and thumbnails after uploading. You must test all of your assets thoroughly before uploading them to ensure they adhere to Roblox's Marketplace policy .
To upload your asset:
In Studio, add the Accessory in your workspace.
In the Explorer Window, right click the Accessory object and select Save to Roblox .

In the Choose asset type dropdown menu, select the appropriate AccessoryType property of the Accessory .
If you do not see this dropdown, your account may not have access to upload assets to the Marketplace. Currently only creators participating in the UGC program can sell items on the Marketplace at this time.
Click Next to begin the automatic validation.
The following issues may cause the submission to fail:
Once validation completes successfully, an item description dialog displays. Fill out the following fields and follow metadata best practices when possible.
Click Submit to pay the upload fee and upload your asset for moderation approval.

The following issues may cause the submission to fail:
After uploading the asset, you can find it in the Creations tab of Toolbox where you can view the current moderation status or edit the title and description.

Updating an Asset
You can configure the title, description, and tags of assets you publish in your Creator Dashboard . This page also allows you to enable the item for sale and set various sale-related options. When you are ready to submit changes to your asset, click Save Changes to confirm your changes.

You can't change or modify the asset or thumbnail after upload. If you discover that your item is broken or doesn't work as expected, you may need to remove the item from sale and re-publish a corrected asset.
If a Roblox update breaks an existing asset, submit a help ticket with a link to the broken item and an .rbxm of the correct version.
Metadata
You can adjust the metadata for any of your creations at any time. Keep in mind that the metadata, such as the title and description, should follow general best practices to avoid moderation and improve discoverability.
On the Configure page, you can update the following fields:
Marketplace Settings
To set your item on sale and access Marketplace settings:
Price
When your item is ready to sell, you must set your price within the appropriate price range for that asset type.
When setting a price, you can see the percentage breakdown of commissions in the dialog box. A similar breakdown on fees, when applicable, is provided at the bottom of the prompt. See Marketplace Fees and Commissions for more information on the fees and commissions for Marketplace items.
Limited
Limited assets, or Limiteds , are assets that have a set quantity available for purchase. By enabling the Limited option for your asset, you can set the quantity of your creations which can give you more control over their scarcity. For information on pricing and payments, see Limited Fees and Commissions .
After publishing Limiteds, you cannot change the asset's Title , Description , Price , or Quantity . You should ensure that your asset details are free of typos or mistakes before publishing a Limited.
To set your asset as limited:
Enable the Limited option next to the On Sale toggle. Additional menu options display. 
Limit Copies Per User
If you are selling a Limited item, you can enable Limit Copies Per User to set the number of times a user can purchase this asset. This only affects the purchases from the original listing and users can still purchase additional copies of the same Limited asset from resellers. You can't change this setting after publishing.
Copy limits are based on ownership. If a user owns the maximum limit of copies in their inventory, they can no longer purchase the asset from the original listing. If the user no longer own the maximum number of copies, they can purchase the copies from the original listing.
Limited assets on the Marketplace before the release of this setting don't include a copy limit.
Sale Location
The Sale Location option sets where you can sell your asset beyond the Marketplace. In some cases, you may want to limit the availability of your asset to certain experiences, or only the Marketplace.
Experiences that sell Marketplace items receive an additional commission including transactions made through the Inspect Menu or through the API within an experience.
The following location options are available for non-Limited items:
| Location | Description |
|---|---|
| Marketplace and All Experiences | Users can purchase this item in the Marketplace or any experiences that offer Marketplace purchases. This is the default setting. |
| Marketplace and My Experiences | Users can purchase this item in the Marketplace or any of the asset creator's experiences that offer Marketplace purchases. |
| Marketplace only | Users can only purchase this item in the Marketplace. |
The following location options are available for Limiteds :
| Location | Description |
|---|---|
| Marketplace and All Experiences | Users can purchase this item in the Marketplace or any experiences that offer Marketplace purchases. This is the default setting. |
| Experience By Place ID (API Only) | Users can only purchase the original stock of this item in the experiences associated with the provided Place ID. Only one Place ID per experience is required and creators can update and change Place IDs at any time. |
After publishing a Limited, you can only change the Location Setting from Experience By Place ID to Marketplace and All Experiences . This change can't be reverted after saving.